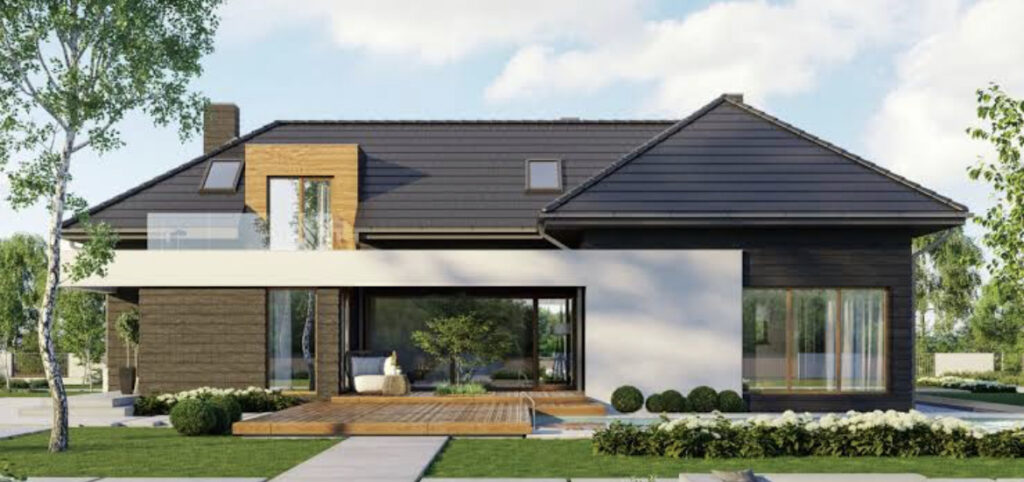
FACADE BOARD
GUIDELINES FOR THE IMPLEMENTATION OF PLASTERS FOR FACADES
 NATURAL WOOD LOOK
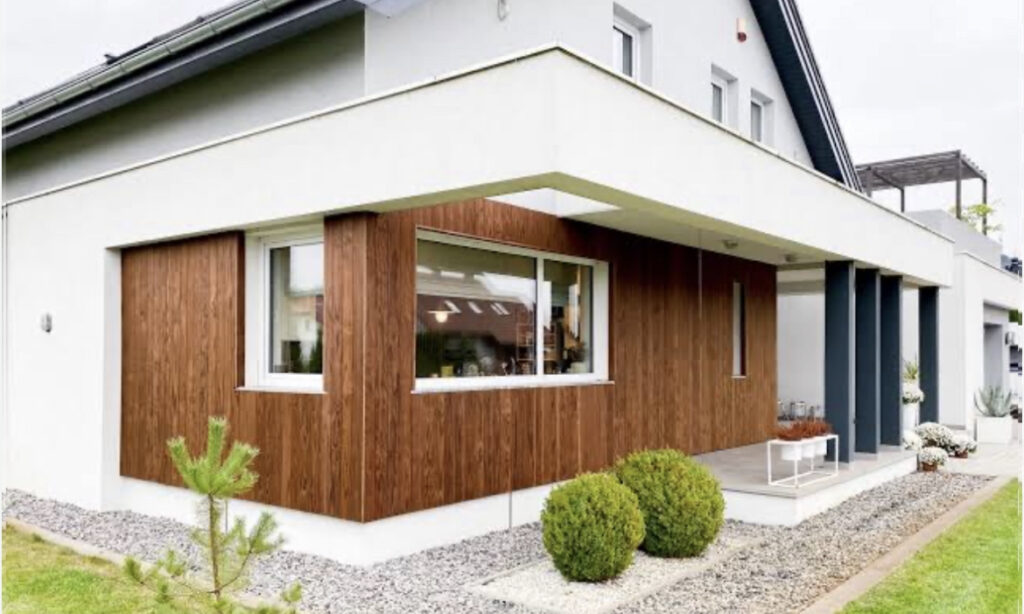
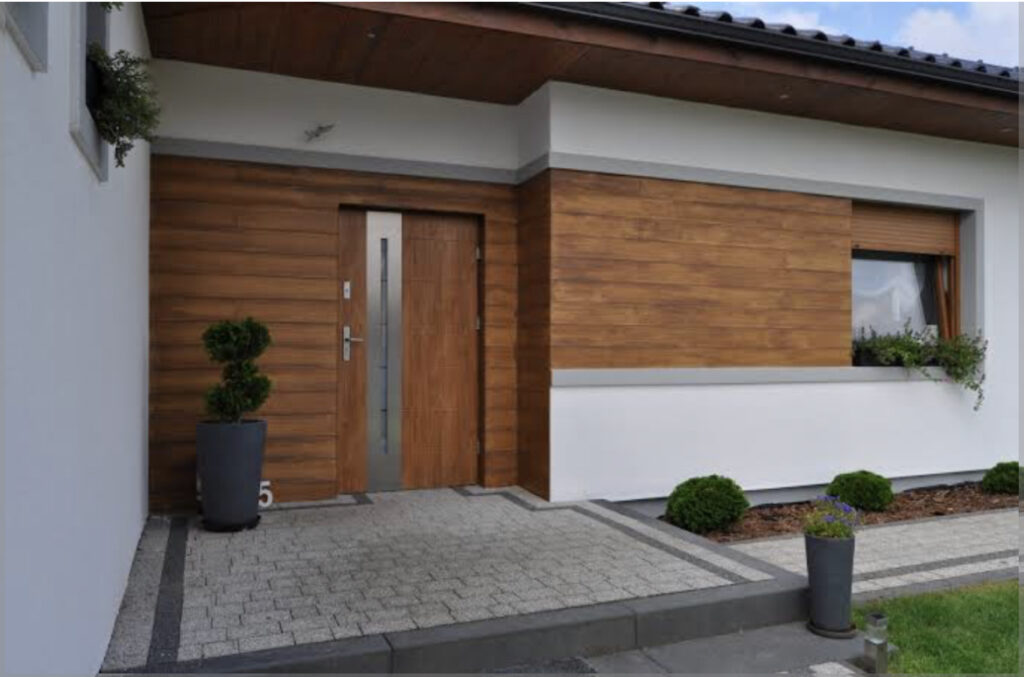
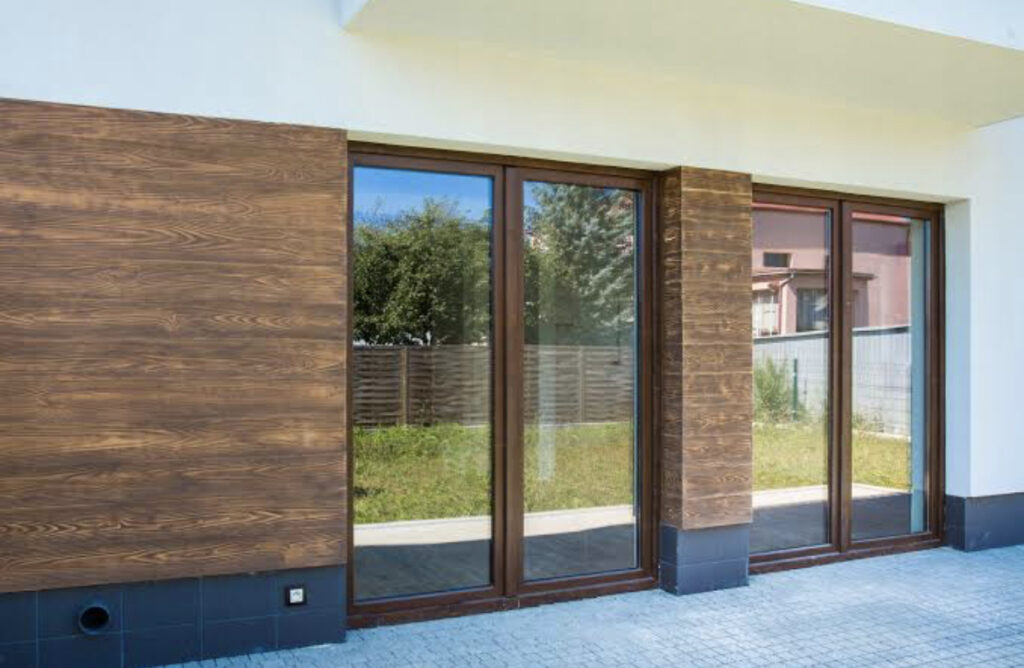
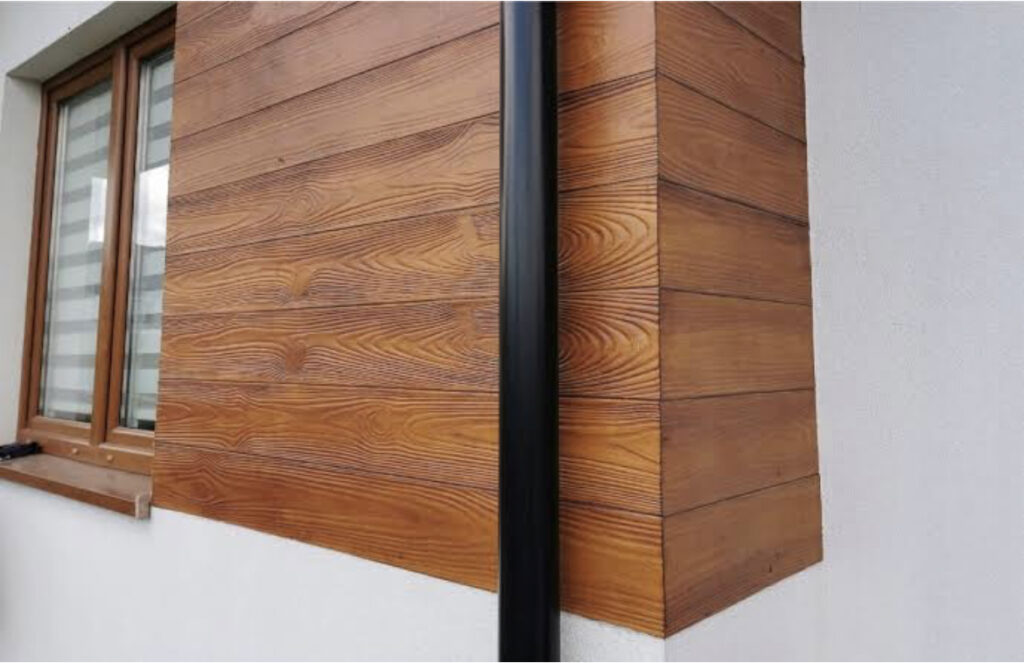
The presented solution of facade boards using ARTE-WOOD technology is one of the most interesting ways to achieve effective results of imitation of wood on the facade. The effect achieved will not differ from the original wood, and thanks to skilled workmanship, it will be possible to achieve even more interesting effects.


The undoubted advantages of the ARTE-WOOD technology are much lower construction costs compared to the use of original wood, but what is even more important, the ARTE-WOOD technology facade board solution will also be easier to maintain in the long run.
TECHNOLOGY PRODUCTS ARTE-WOOD
To perform works using ARTE-WOOD technology, the following products are needed:
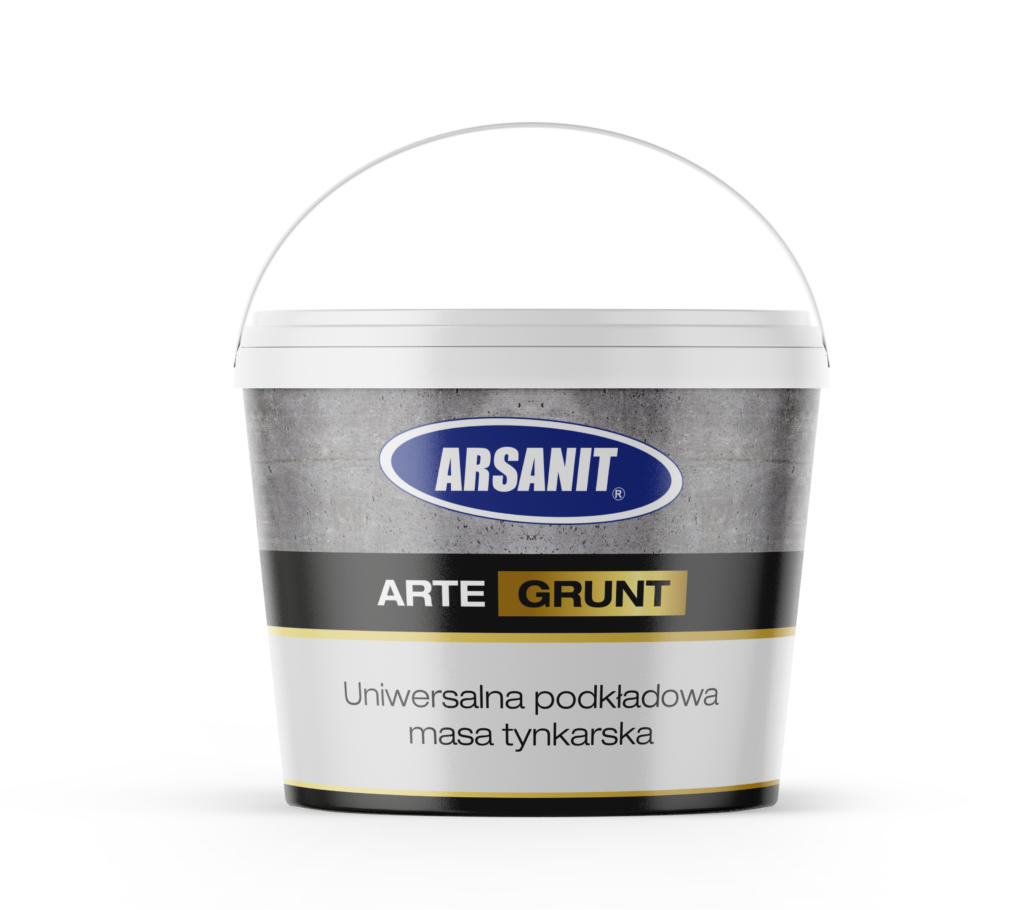
no.0070
1. ARTE-GRUNT universal primer intended for preparing the substrate for model plasters, used inside and outside the building.
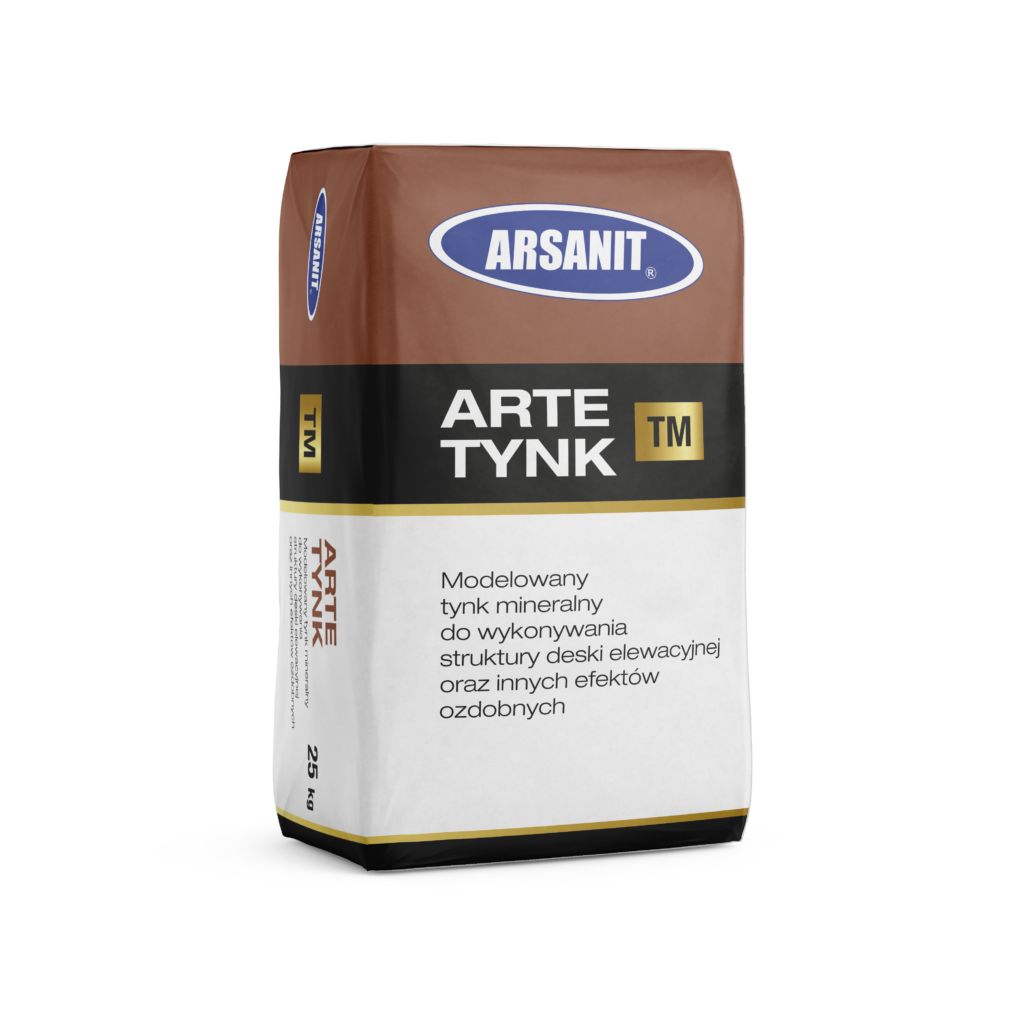
no.0017
2. ARTE-TYNK TM modeled mineral plaster for creating the structure of facade boards and other decorative elements.

The mortar is produced in white.
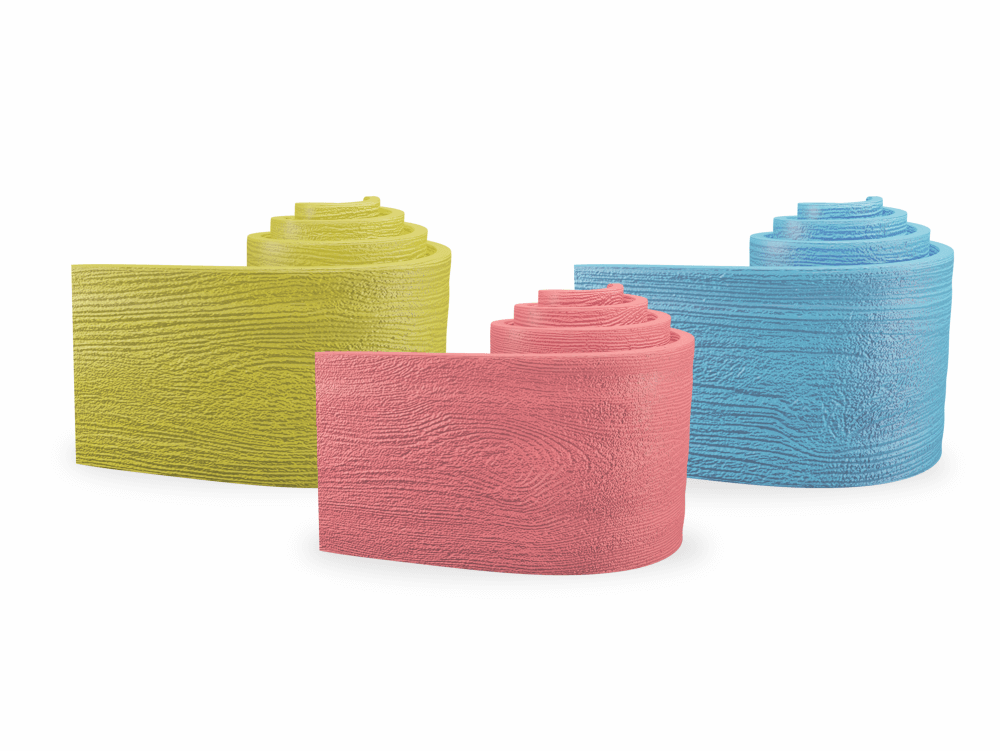
no.0076
3. MATRIX - a reusable silicone form in the form of a tape for imprinting the patterns of the board in the facade and the pattern of the stump.
no.0075
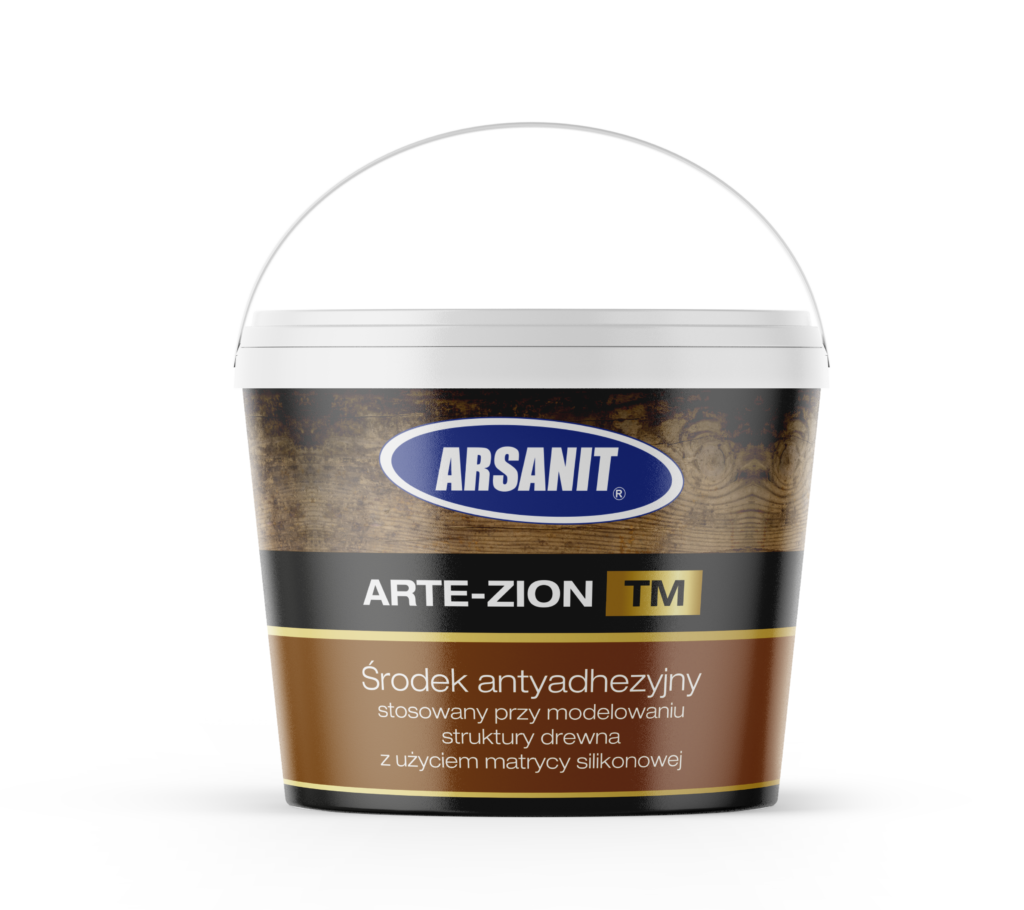
4. ARTE-ZION TM auxiliary agent for styling wood structure using a silicone matrix imprinted in the plaster. The agent impregnates and prevents the formation of efflorescence and white coatings.
no.0074
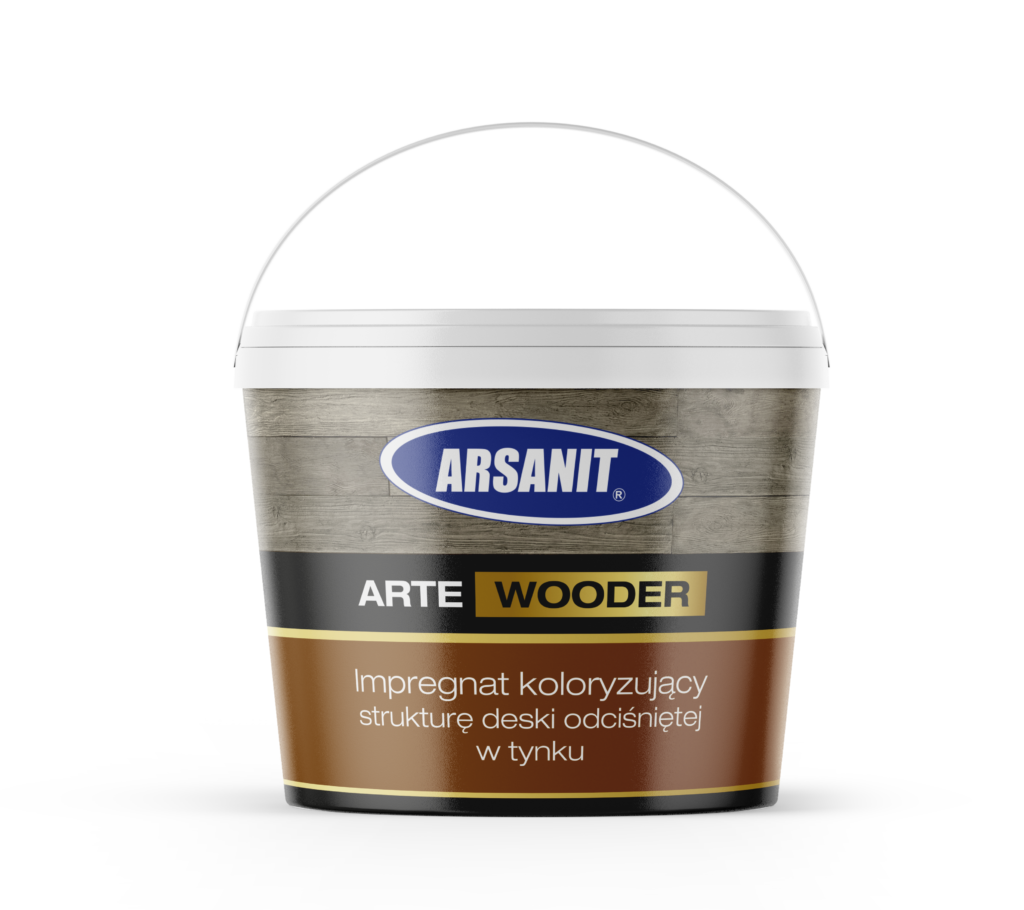
5. ARTE-WOODER coloring impregnation intended for making a decorative and impregnating layer on the surface of mineral plaster mortar, delivered ready-made, in colors according to the manufacturer's pattern.
6. OTHER MATERIALS NEEDED:

- Clean water,
- Grouting strips, painter's tapes,
- Trowels, trowels, rollers, sponges.
SUBSTRATE PREPARATION
- The facade board can be made on substrates typical for mineral plasters, such as: traditional plasters, concrete plasters, gypsum-catron substrates, etc.

- The facade board can be used inside and outside the building.

- Before starting the work, check whether the condition of the substrate allows the execution of the board pattern - if not, it will be necessary to carry out appropriate repair work in accordance with the art of construction so that there are no obstacles to the proper execution of the facade board pattern.

- If surface damage exists, it must be repaired before further work is undertaken. The substrate must be even, as flat as possible, dusted, well bonded and clean, i.e. without any fragments that would hinder subsequent priming and plaster application and maintain its proper adhesion (dirt, greasy and oily residues, paint residues, stains, etc.)

- If the substrate is not sufficiently even and stable, fill the substrate with
THERMA+TH-03 mesh embedding adhesive and then embed the REINFORCING MESH AKE 145 from ARSANIR.


- The drying time of the reinforced layer is 24 hours for a plaster thickness of approximately 4mm (at a temperature of 20°C), but may be longer in unfavorable weather conditions.

- Check whether the mesh has been thoroughly embedded and smooth out any irregularities with a trowel with sandpaper.

- You can proceed to the next stages of work only when the substrate is completely dry.


 PRIMING

- Prime the substrate with ARTE-GRUNT in accordance with the instructions provided by the manufacturer.

- Before starting priming, the ARTE-GRUNT preparation should be mixed well, the product must not be diluted!

- Work can be carried out using a roller or brush - spreading evenly on the surface, avoiding the formation of puddles.

- Under optimal ambient conditions, temperatures between 5°C and 28°C, ARTE-GRUNT primer dries in approximately 5-6 hours.

- If necessary, priming can be repeated while maintaining the same working conditions.


APPLICATION OF PLASTER

The application of mineral plaster mortar ARTE-TYNK must be performed continuously, up to natural breaks such as building corners or gaps.

- An adequate number of workers and scaffolding must be provided. An appropriate distance should be maintained between the scaffolding and the wall - at least 0.45 m. Avoid working on strongly sunlit and heated surfaces. Material from the same batch should be used (see the batch number on the container) on one surface, within its natural boundaries.

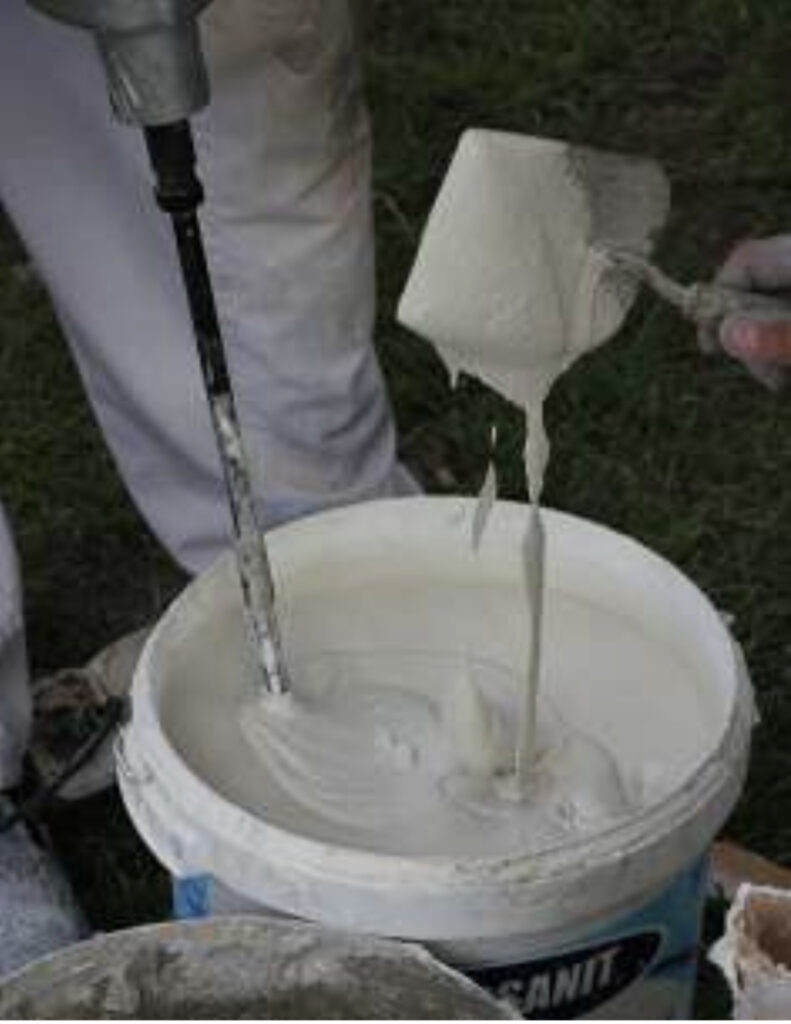
- The contents of the ARTE-TYNK bag should be poured into a bucket with clean water in the proportions of 5.25 liters of water per 25 kg package, and then mixed thoroughly with a low-speed mixer, until a uniform mass is obtained, and then leave for 10 minutes, but no longer (plaster maturing time). After this time, you need to briefly mix the contents of the bucket again and you can start applying it.

-After mixing and briefly maturing, the plaster maintains appropriate properties for application to the substrate for about 2 hours, depending on weather conditions.

- To improve mixing of the plaster, you can add a maximum of 250 ml of water to one container of the mass. The same amount of water should then be added to all containers - too much water destroys the properties of the plaster and does not allow it to function properly.


PLASTERING

- The best conditions for applying plaster ARTE-TYNK TM are similar to those for priming the substrate with ARTE-GUNTR, so the temperature is between +5°C and +28°C, preferably without direct sunlight. The plaster should be applied using a clean stainless steel trowel, the thickness of the layer depends on the expected effect of the reflected board structure. The minimum thickness of the applied plaster layer should be 1 mm and the maximum plaster thickness should be 5mm.

- The plaster should be applied evenly over the entire surface and then smoothed as thoroughly as possible with a wide trowel over the entire surface, the last movements of the trowel should be made in the direction of the board pattern, this guarantees the proper effect of reflecting the board structure.

- The most proper application of plaster is facilitated by special large plaster trowels.

- Avoid working on strongly sunlit and heated surfaces.

- During hot and windy weather, the façade can be sprinkled with water mist (a small amount of water) to lower its temperature, then wait until the surface is completely dry before proceeding with the next steps.


USE WITH ARTE-ZION TM

- Cover the matrix of the facade board thoroughly with a small amount of ARTE-ZION TM, which is intended to limit the adhesion of the matrix of the board to the plaster.

- It is best to apply ARTE-ZION TM in a place where there is no risk of accidental contamination of the matrix, both from above and below, this will avoid difficulties to reflect the matrix in the plaster.

- ARTE-ZION TM can only be applied to a clean matrix, preferably with a brush, applying a very thin layer of mineral oil to the entire surface of the matrix.

- The entire surface of the silicone matrix should be protected, and parts with deep grooves should be especially carefully filled with oil.

- Carefully applied protection with ARTE-ZION TM should be repeated before each use of the template (matrix).


CREATING A BOARD STRUCTURE IN PLASTER

- The cooperation of at least two people is required for this stage of work.

- We bring the matrix unfolded, holding it by the edges so as to interfere with the applied substance as little as possible.

- We place the silicone matrix on the surface, preferably starting from its edge, and unfold it, then two people hold it on both sides and press the entire surface with an appropriate roller.

- Rolling should be done evenly and several times, preferably using a velvet roller 20 cm wide and short-piled.

- Do not use too much force when rolling, the plaster should not be squeezed out from under the template.

- We slowly tear off the matrix, while constantly pressing it with a roller, we immediately check the quality of the imprinted pattern, and if necessary, we can make immediate corrections to the imprinted pattern of the board.

- Excessive plaster flows appearing at the edges of the silicone matrix can be manually removed on an ongoing basis, for example with a wallpaper knife, or an additional pattern can be applied or smoothed out with a hand roller, using the edge of the roller. Excess plaster can also be removed after it has completely dried by cutting it off with a wallpaper cutter or sanding it with 80-100 grit sandpaper or a sanding net.

- Clean the silicone matrix if necessary, and then lubricate it again with ARTE-ZION TM.

- Repeat the operation on subsequent fragments of the surface; it is worth rotating the board matrix each time or using a different pattern to diversify the pattern of the entire surface.


CREATING A BOARD STRUCTURE IN PLASTER


- After completing 4 or 5 levels, use a spirit level to make additional control lines again, thus correcting any possible minimum deviations from the level.

- Within the corners of the facade, it is necessary to make template impressions in a so-called staggered manner, i.e. offset from the adjacent level, otherwise the effect obtained will be unnatural.

- Connecting the template impressions along the length requires additional precision, especially if it is not planned to make vertical grooves that mirror the ends of the board, the part of the template on the connection side is not pressed with a roller when imprinting the pattern, then the template is placed again on the overlap, remembering to match it the grain pattern to the existing one and the pattern is stamped using a roller.

- After making the wood grain patterns and before applying the coloring impregnation, the plaster must be completely dry for at least 72 hours. During this period, it must be protected against unfavorable weather conditions, including moisture and rainwater. At higher temperatures, the drying process is shortened to 48 hours, at lower temperatures and increased humidity the process is extended up to 14 days.

- It is recommended to protect the facade against sunlight, rain and wind by using covers (scaffolding nets).

- If the temperature is high immediately after applying the matrix, you can moisten the plaster with a small amount of water - carefully, using a roller or brush, but be careful not to destroy the structure of the plaster. Under these conditions, shrinkage cracks may appear in the plaster, which adds charm to the plaster and structure.
CREATING A BOARD STRUCTURE IN PLASTER
- Three different patterns of silicone cladding board matrix are available.

- It is recommended to use two or three matrix patterns and rotate them irregularly (right - left) during subsequent reflections in the plaster to minimize the visibility of the repeating stamp effect on the façade.

- When using only one matrix pattern, it is strongly recommended to rotate the matrix irregularly (right - left) when making subsequent impressions in the plaster and possibly make manual corrections using available tools.
CREATING GROOVES BETWEEN THE BOARDS
Creating grooves between the boards is not technically required, it depends on individual preferences.

- About 4 hours after pressing the templates, you can make grooves in the plaster, giving the effect of gaps (joints) between the boards. To make joints, we also use façade strips 2, 3 and 5 cm wide, which are glued as a template when applying the plaster, and after about 4 hours they are removed from the plaster mass.

- Making grooves allows you to achieve the effect of joints between adjacent boards, in practice, horizontal grooves are usually made, omitting vertical grooves.

- We make joints on semi-hard plaster, it cannot be done when it is still wet.

- Joints can also be made on hardened material. We do this by placing a 125mm grinding disc against the spirit level and moving it several times, sanding the joint to a depth of about 2mm.

- Care must be taken to ensure that the joint depth is not too great and that the base layer with mesh is not damaged.

- We repeat this operation many times in every place where there is a gap between the boards.

- The distance between horizontal joints should be approximately 20 cm, i.e. the width of the template.
IMPREGNATION OF FACADES AND ADDING COLOR
- After completing all the joints, the entire facade or wall should be thoroughly vacuumed, removing all dust and loose particles. Then you can wipe it with a damp cloth.


IMPREGNATION AND COLOR

- Coloring impregnation is performed after the plaster has completely dried ARTE-TYNK TM, i.e. after at least 72 hours from its application.

- Using a coloring impregnation too early may cause lime efflorescence
(white coatings), discoloration and even blisters when the plaster is wet.

- Impregnation can only be performed when the plaster covers the entire wall surface from edge to edge.

- The coloring impregnation ARTE-WOODER should not be diluted.

- Dilution or failure to apply a second coat results in a very unsightly appearance of the facade and rapid degradation of the impregnation.

- Plaster ARTE-TYNK in which the structure of the board is imprinted is white.

- The coloring impregnation ARTE-WOODER should be applied at least twice, and the second painting should be done after the first layer has dried, at the earliest after 4 hours from the first painting.

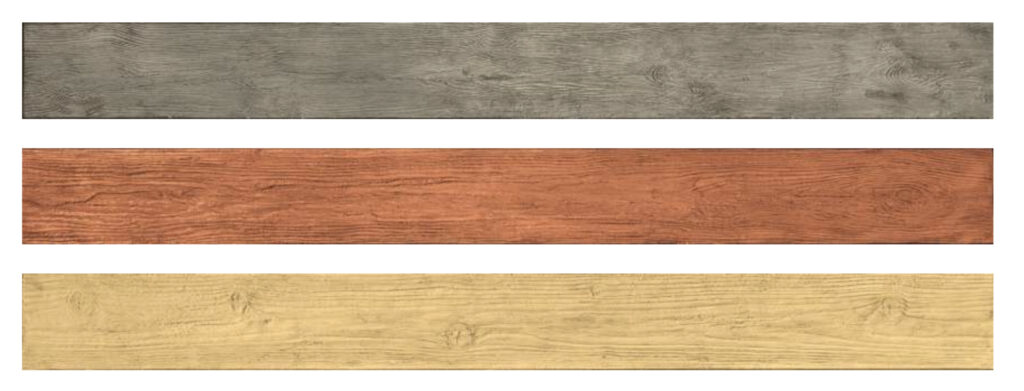
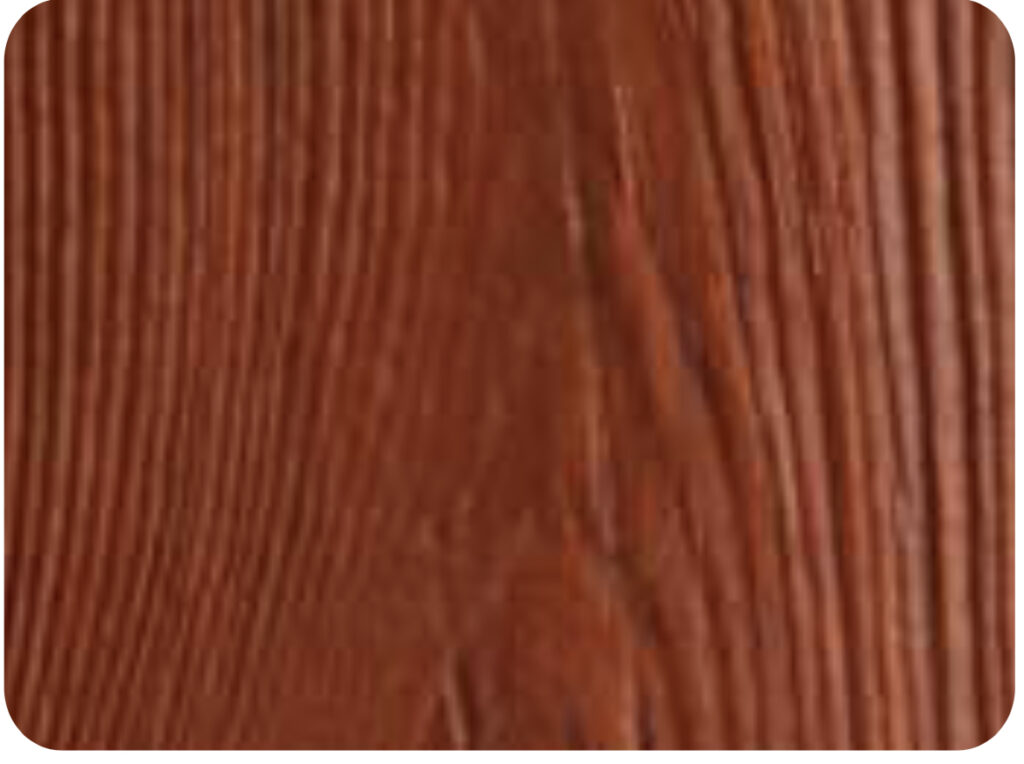
- The ARTE-WOODER coloring impregnation is available in a limited color palette, but nevertheless gives many possible combinations of the final effect, these depend on the combination of the colors selected for the first one, second and possibly subsequent layers of impregnation, method and precision of execution, tools used, thickness of the applied layer.

- The colors presented below should be treated as illustrative purposes only, and the correct color and pattern are presented in dedicated samples and on displays available from our trading partners.
ILLUSTRATIVE COLOR PALETTE
Mahogany
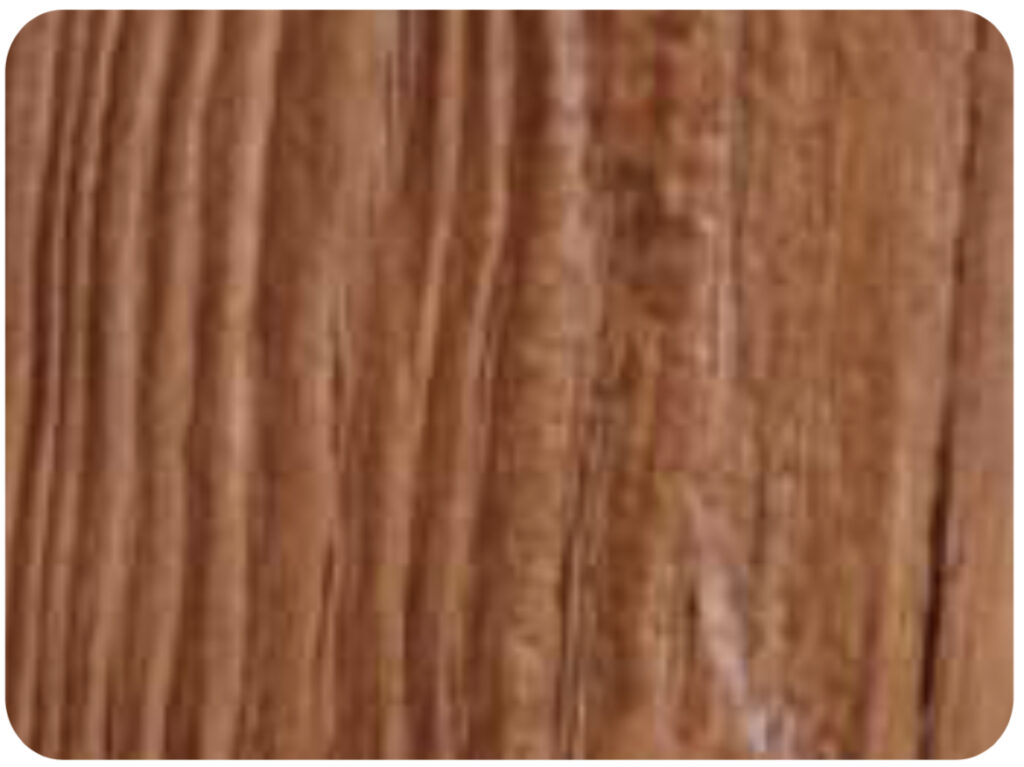
Nut
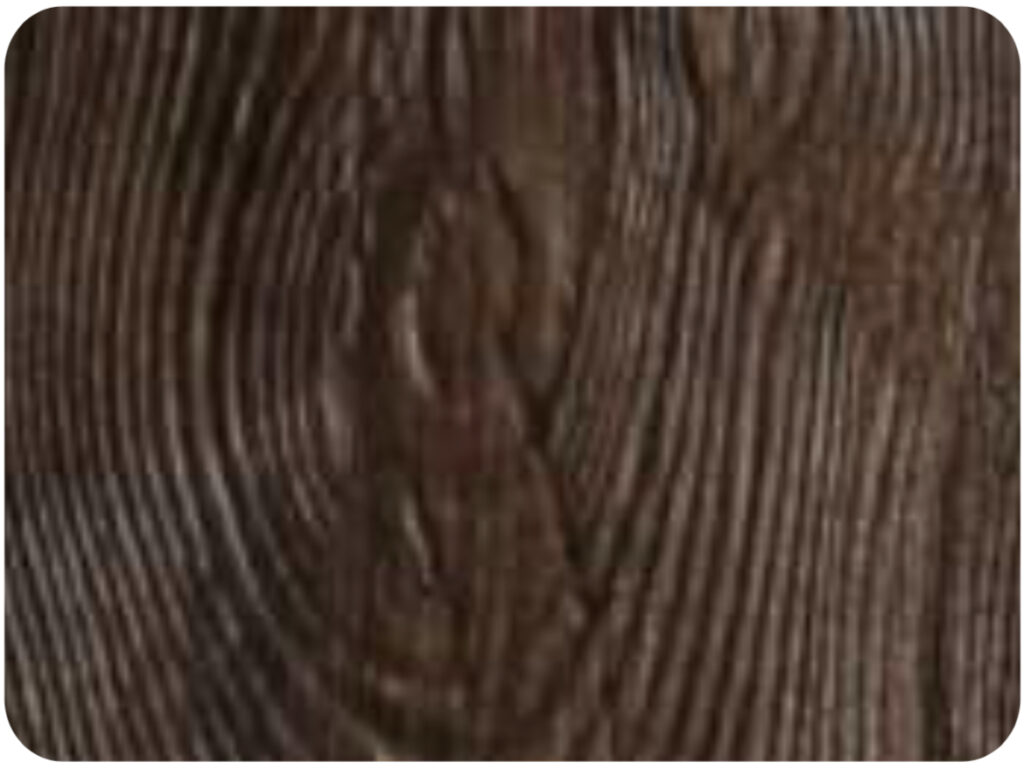
Wenge
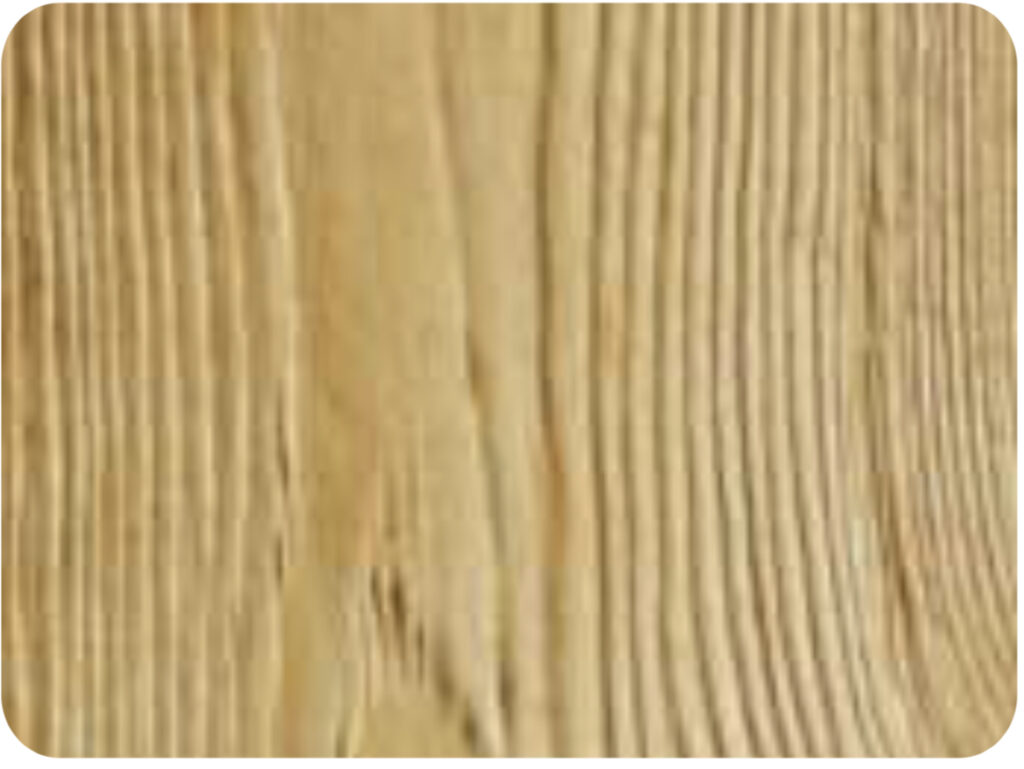
Honey apple tree
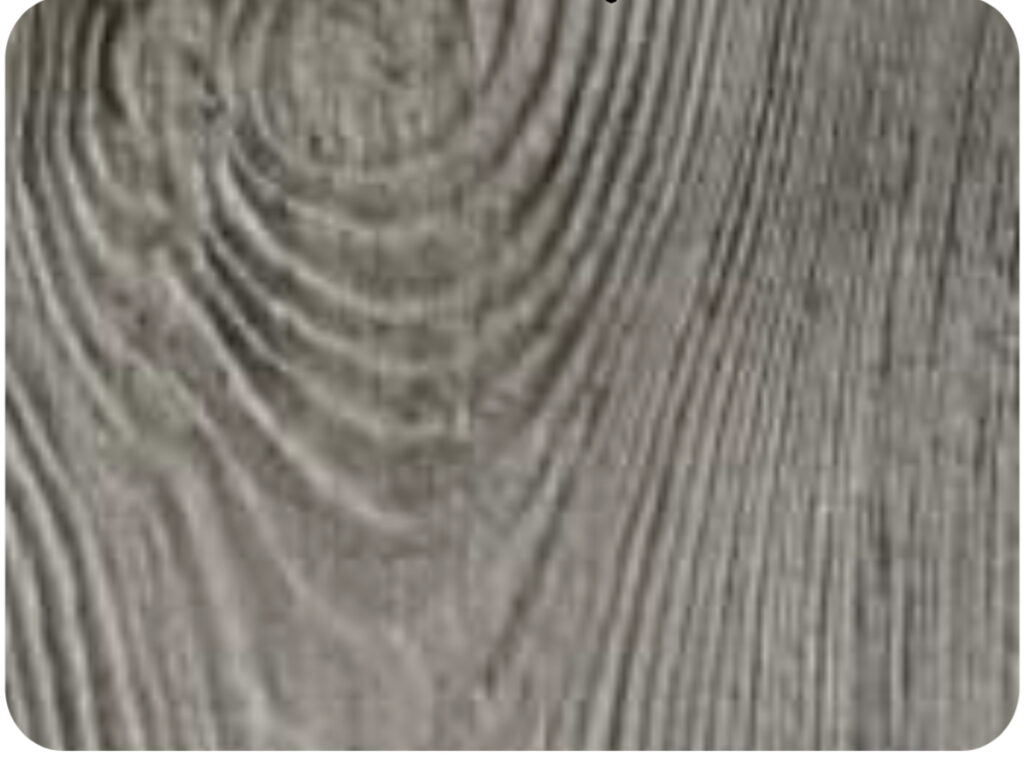
Anthracite
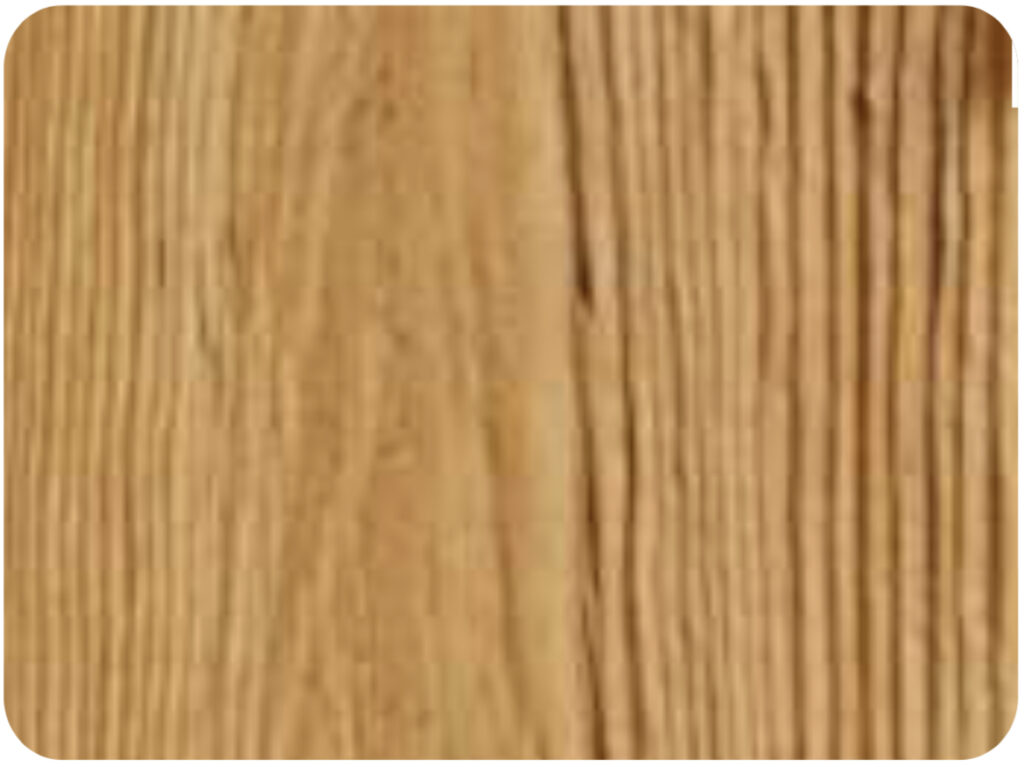
Golden Oak
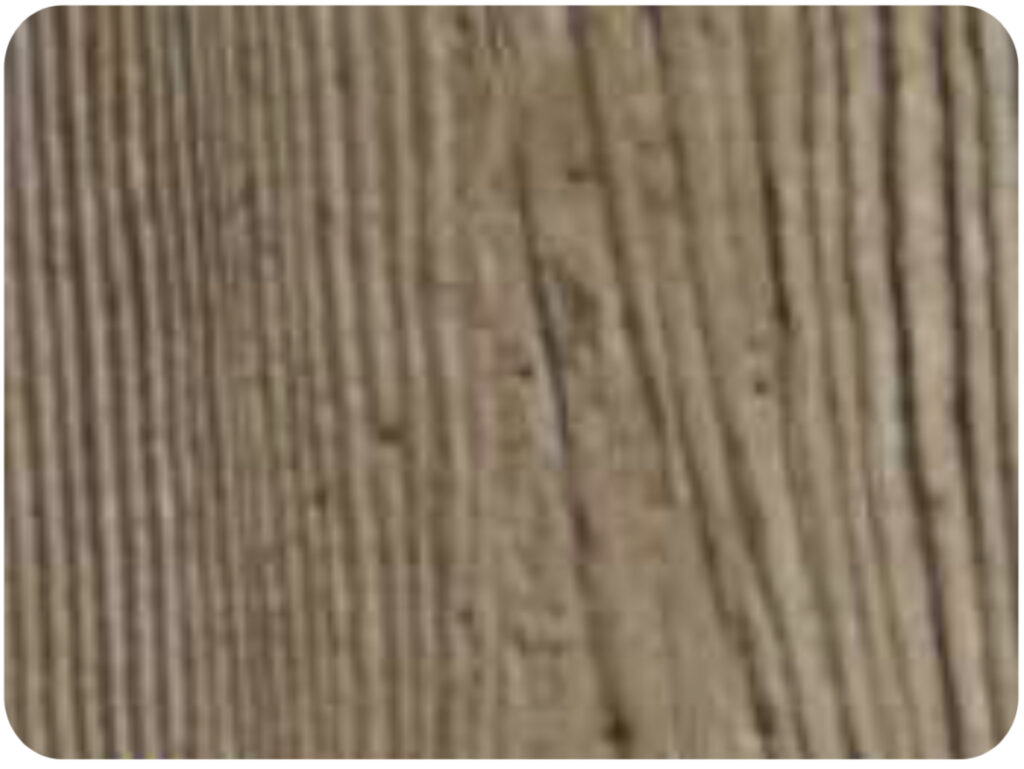
Alder
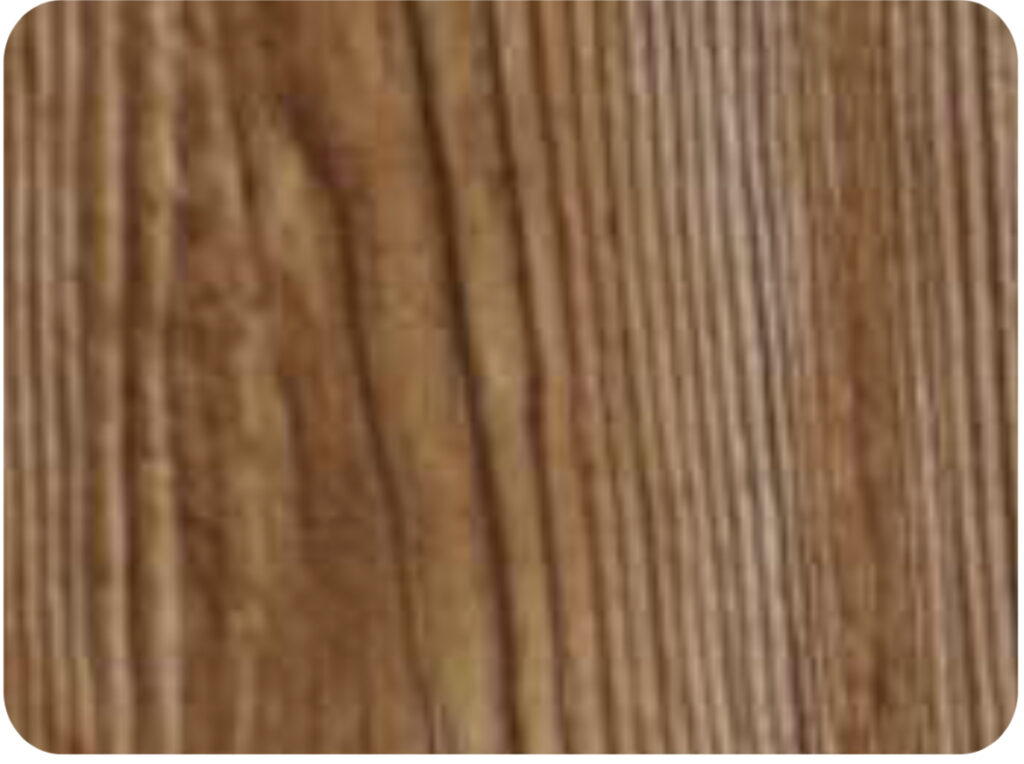
Chestnut
RULES FOR USING THE SILICONE MATRIX
- Silicone matrices should only be coated with ARTE-ZION TM, the use of other agents destroys the silicone and causes its degradation, thus shortening the life of the matrix.

- The silicone matrix should definitely not be stored or soaked in ARTE-ZION TM, but only lubricated just before using the matrix.

- After finishing work, the silicone dies should be washed only with water without the use of detergents, and all traces of plaster and excess ARTE-ZION TM distributor should be removed from the silicone molds.

- After drying, the silicone matrices should be completely dismantled, e.g. hung on a scaffolding or dried thoroughly.

- Silicone matrices should be stored in the most developed form possible and in a place ensuring access and air exchange.

- Silicone dies should definitely not be stored uncleaned.

- Dirty dies should definitely not be stored in closed containers.

Compliance with the above rules is in the interest of both the investor and the contractor, because the correct use of the matrix will ensure the appropriate qualitative effect of the effect obtained, as well as the maximum life of the matrix.
PHOTOS OF WORK PERFORMED
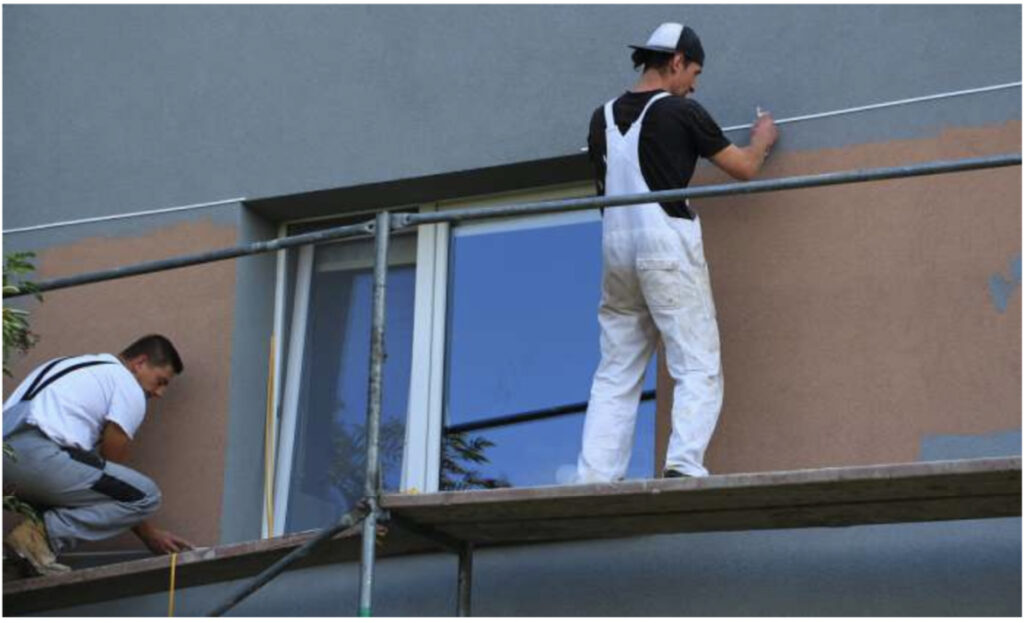
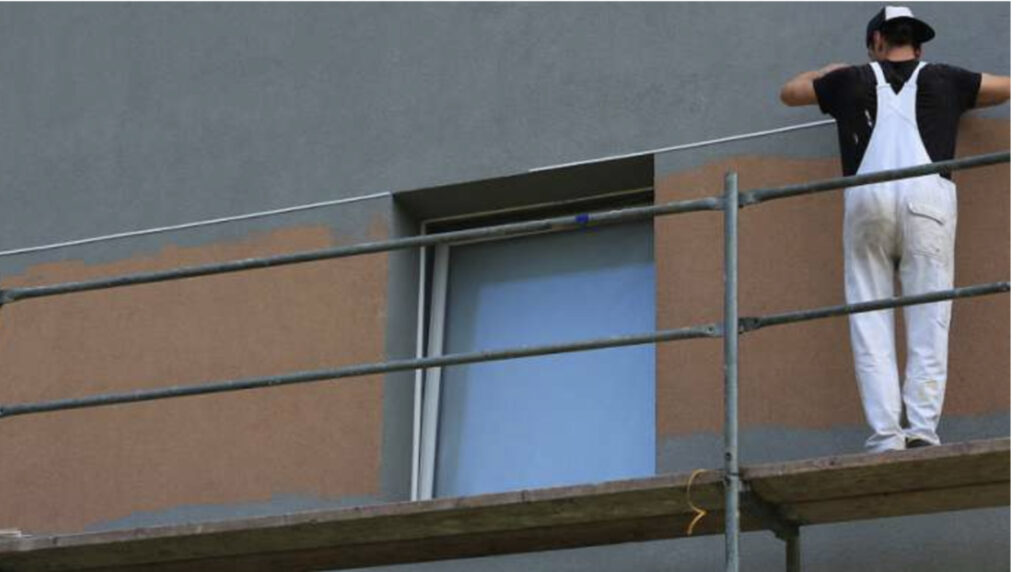
Installing starting strips (or securing tapes) ensures accuracy and prevents accidental damage to the already plastered facade.
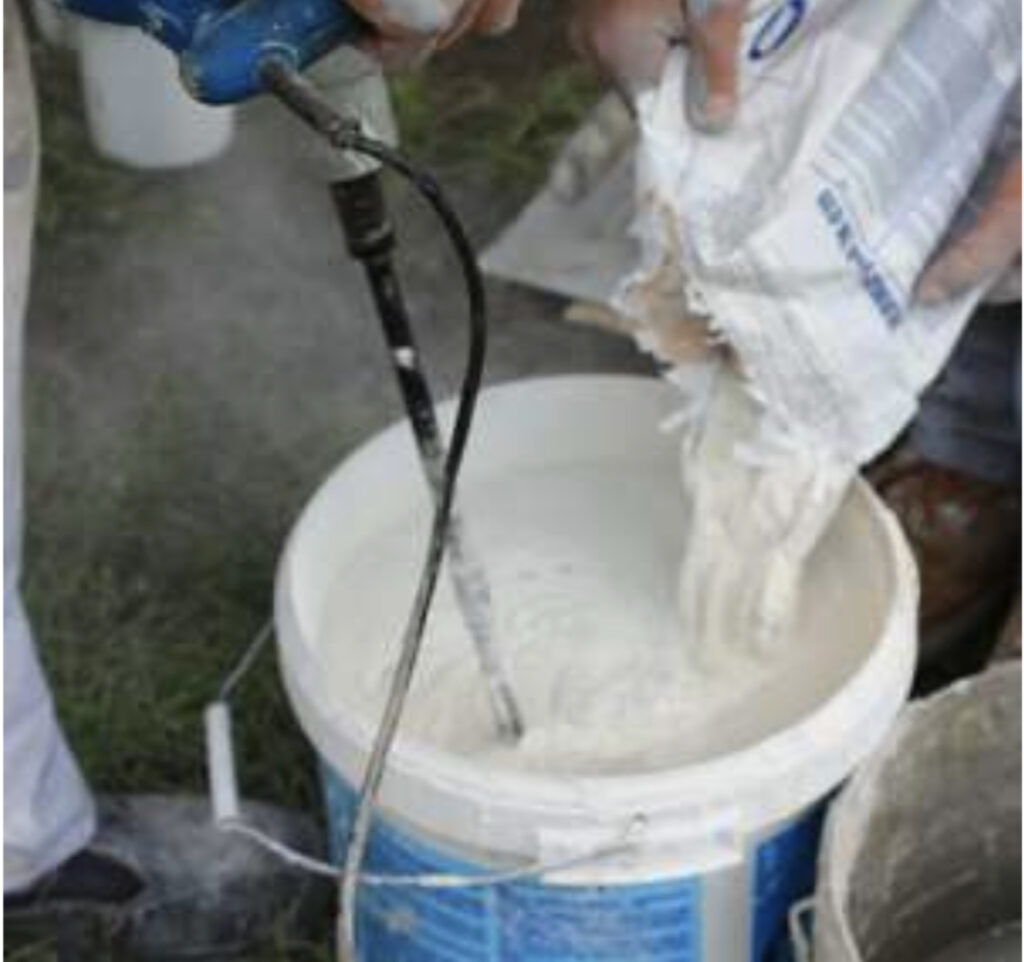
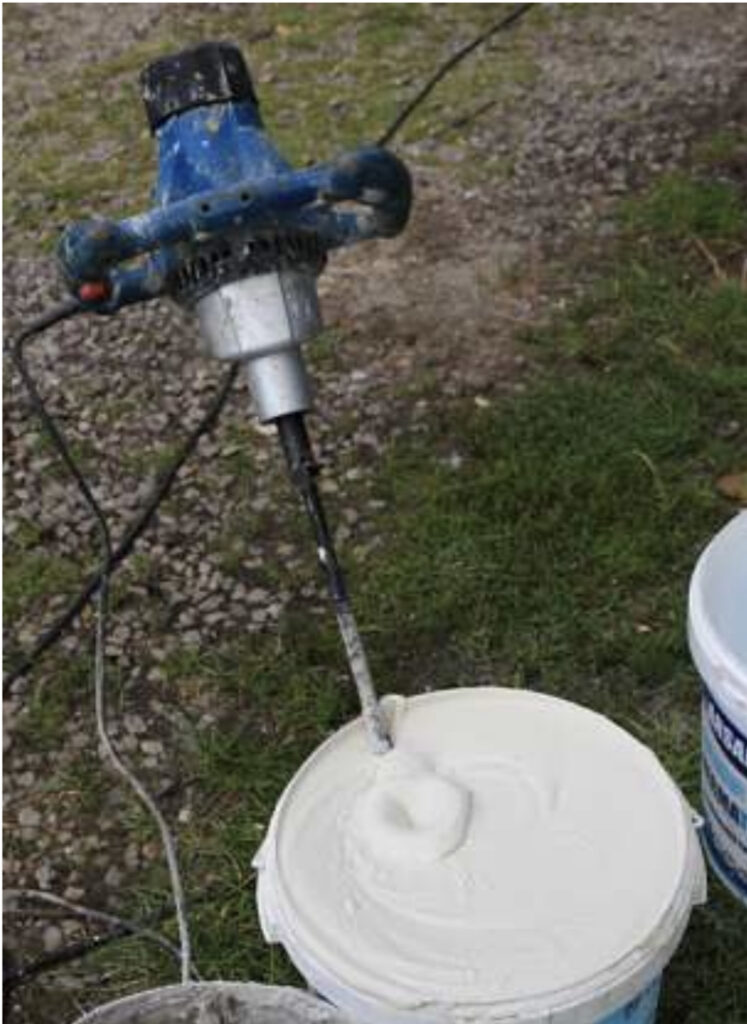
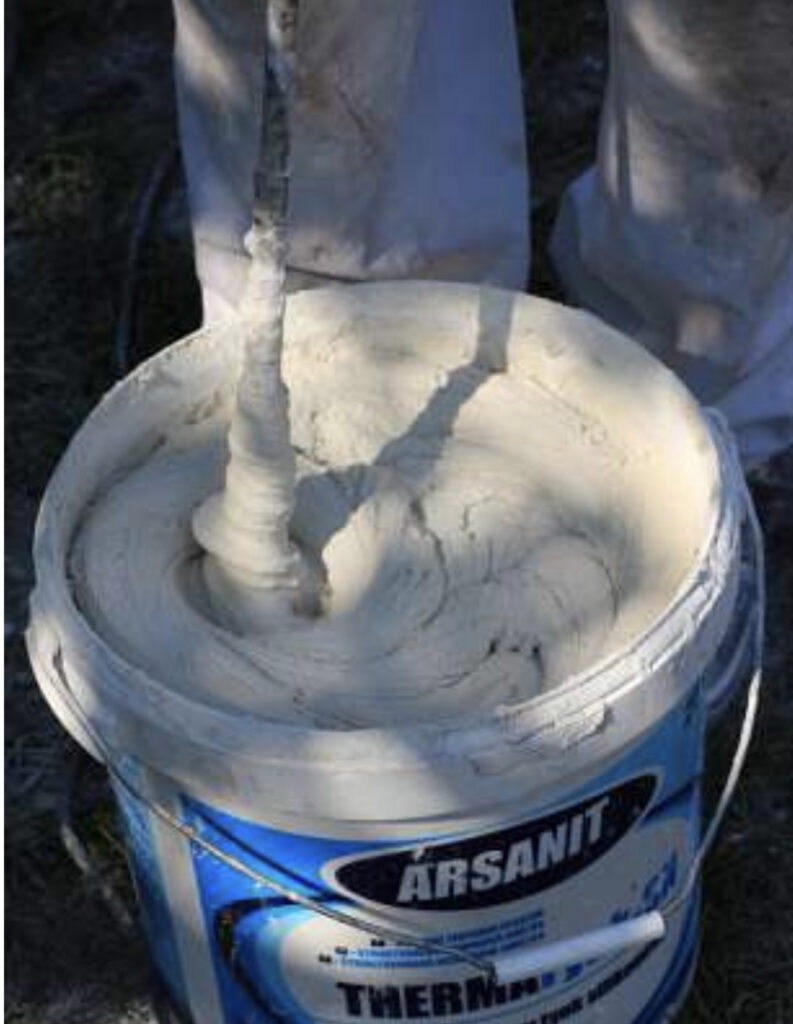
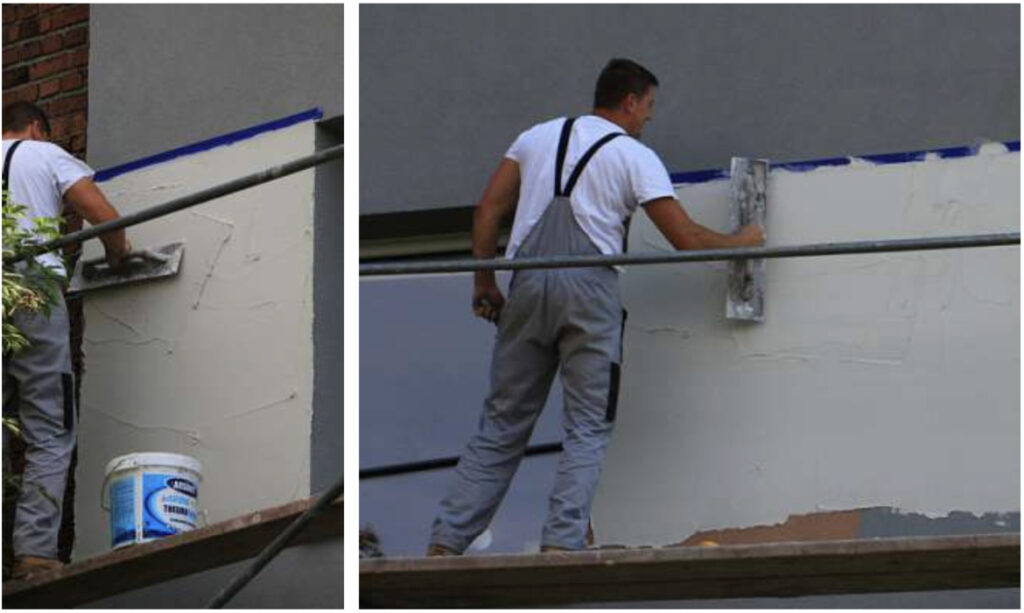
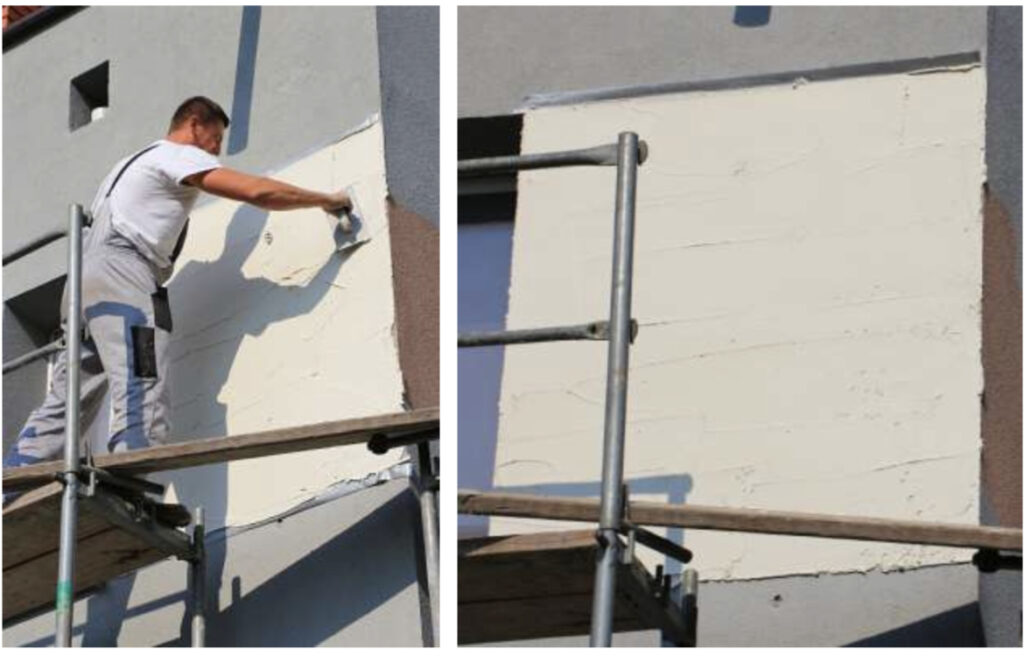
Well-applied plaster guarantees trouble-free imprinting of the silicone matrix and an attractive board pattern.
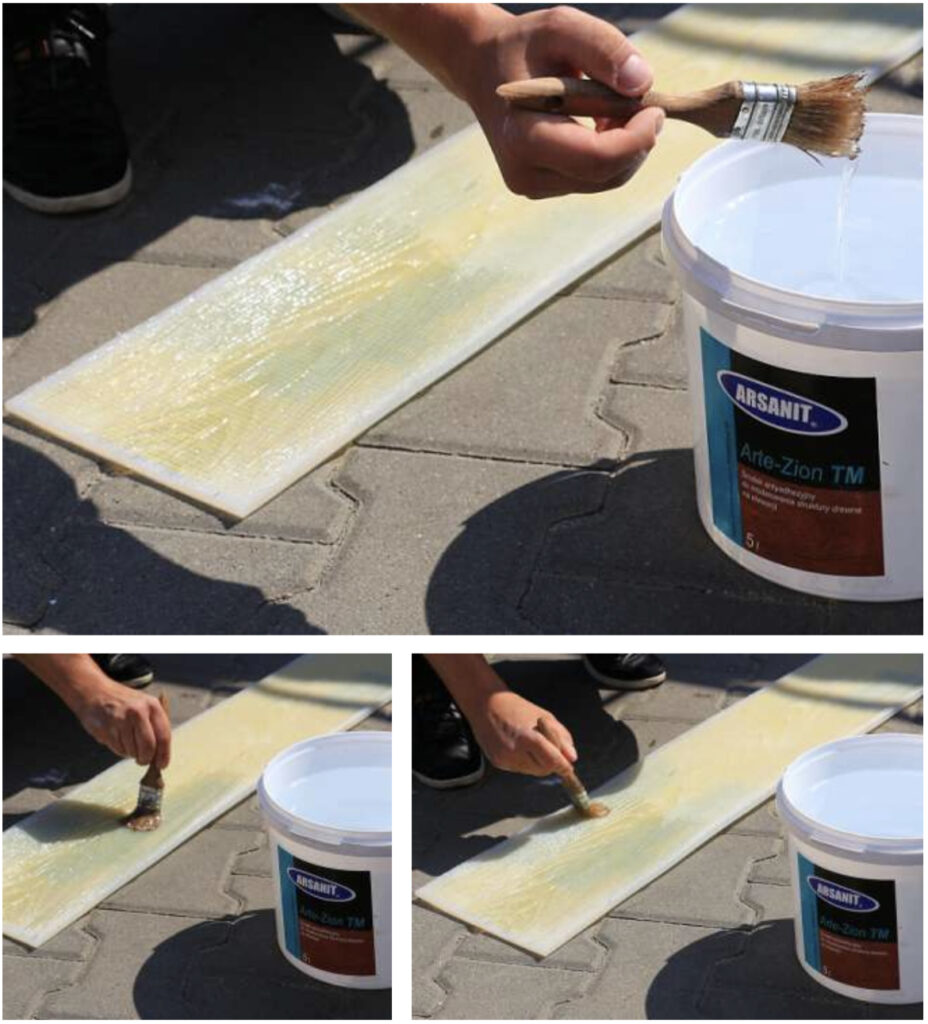
The agent ARTE-ZION ensures easy imprinting of the matrix pattern in the plaster and also protects the silicone matrix.
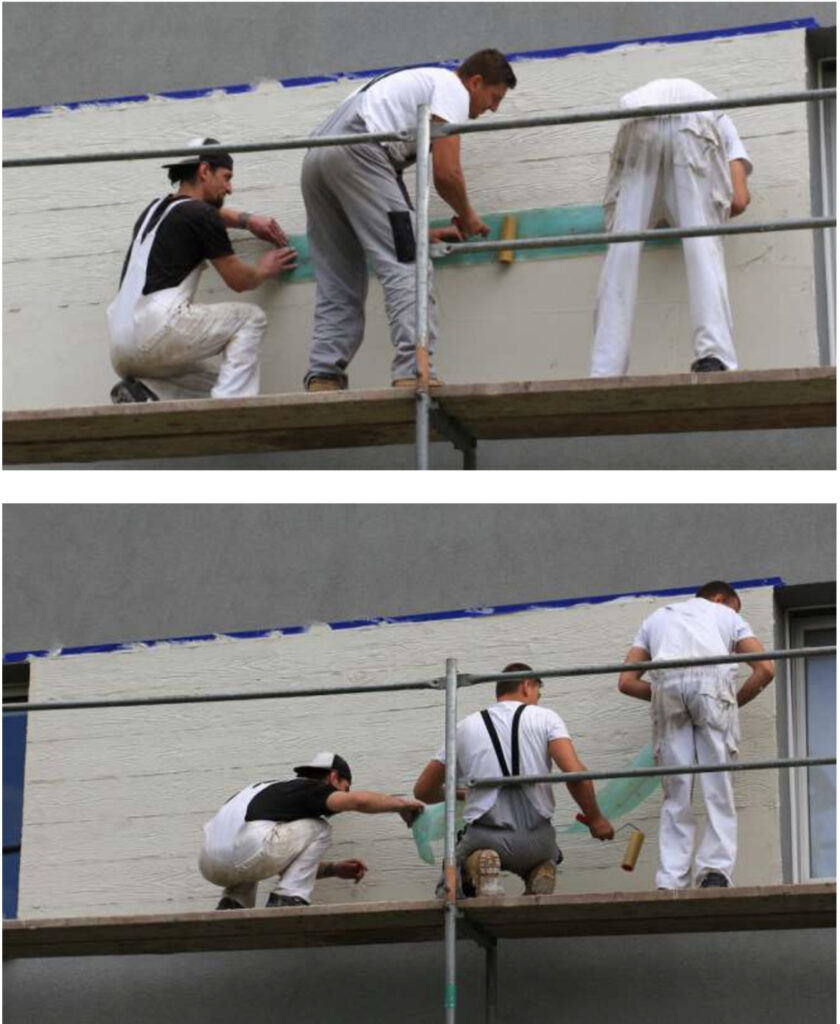
When impressing the matrix in plaster, the cooperation of three people works well - two people are the minimum necessary for this activity.
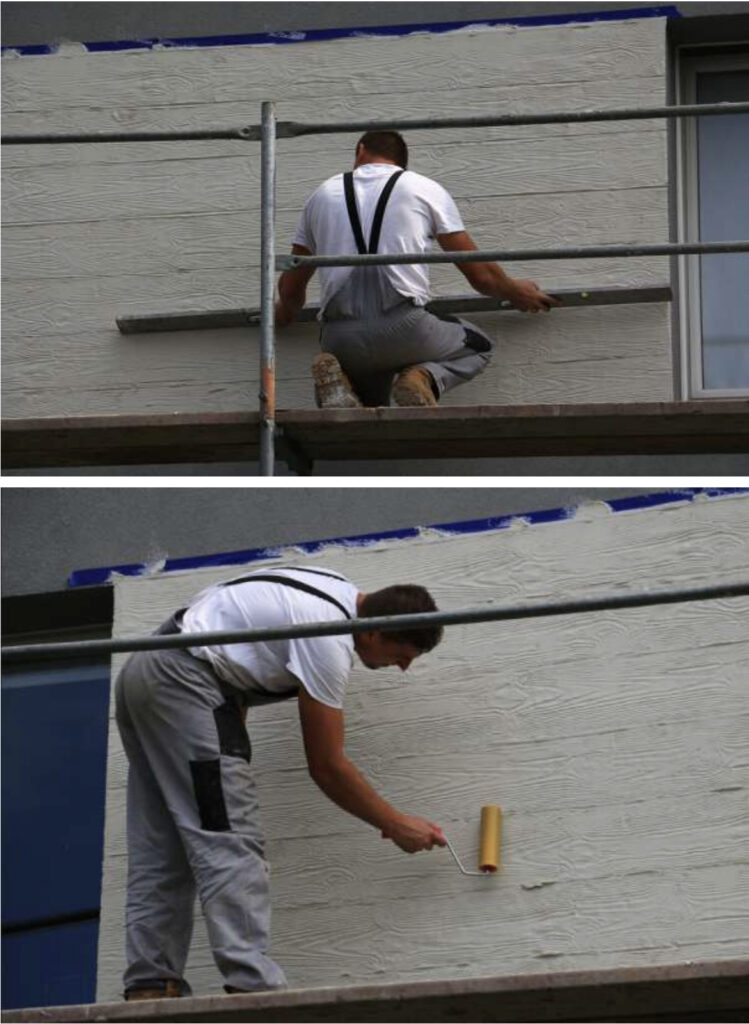
An idea to use tools available on the construction site to make regular grooves (joints) between the boards.
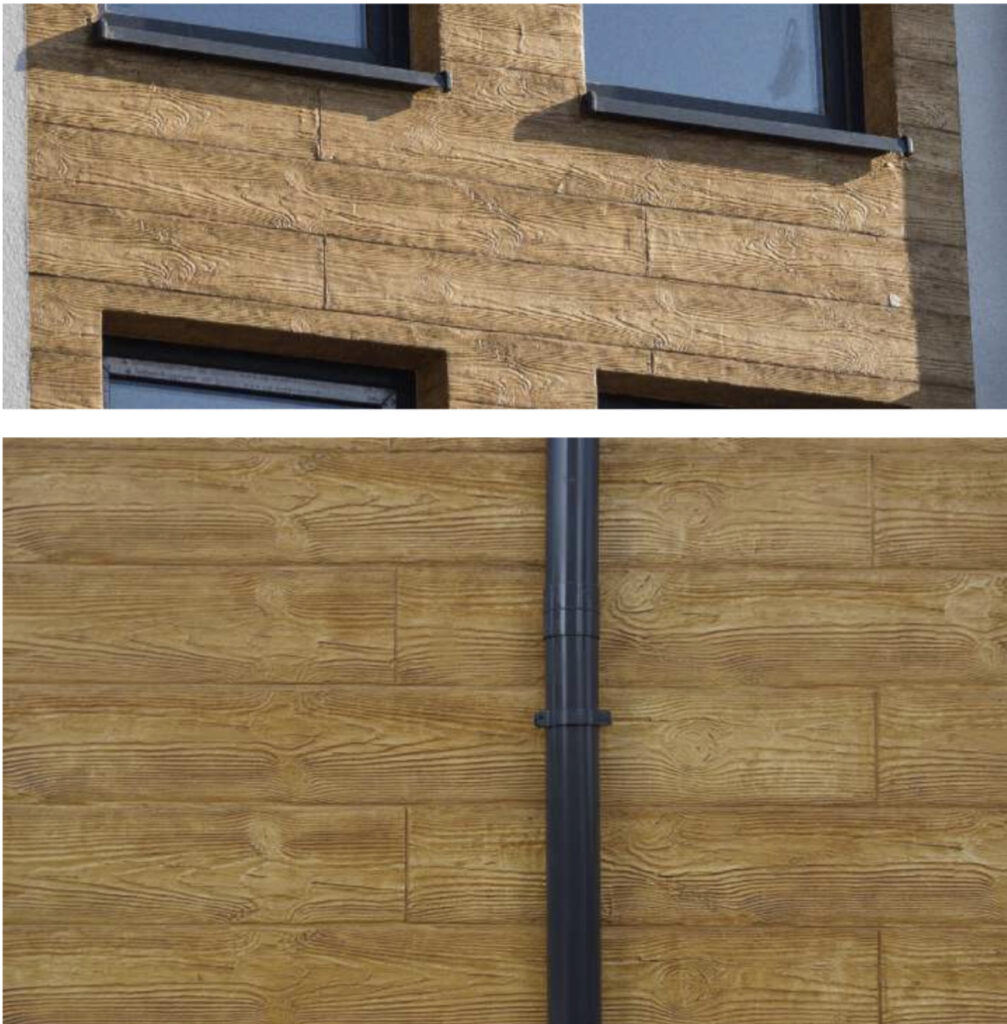
Templates with the so-called staggered pattern, i.e. with the pattern shifted relative to the adjacent level so as to avoid visible effects of repetition.
PERFORMANCE AND EFFECT
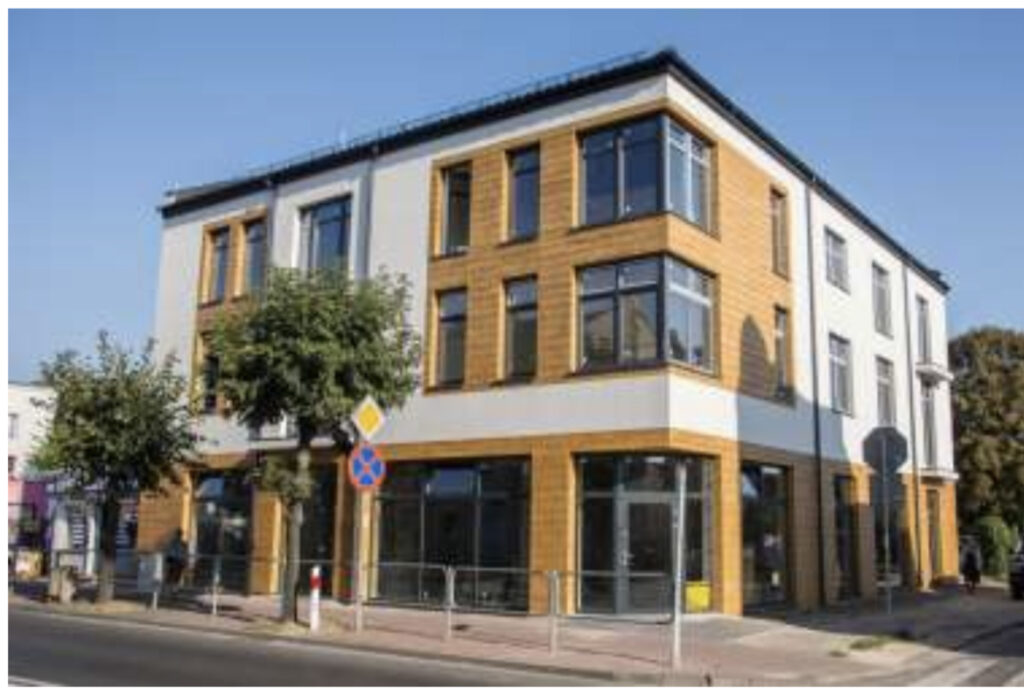
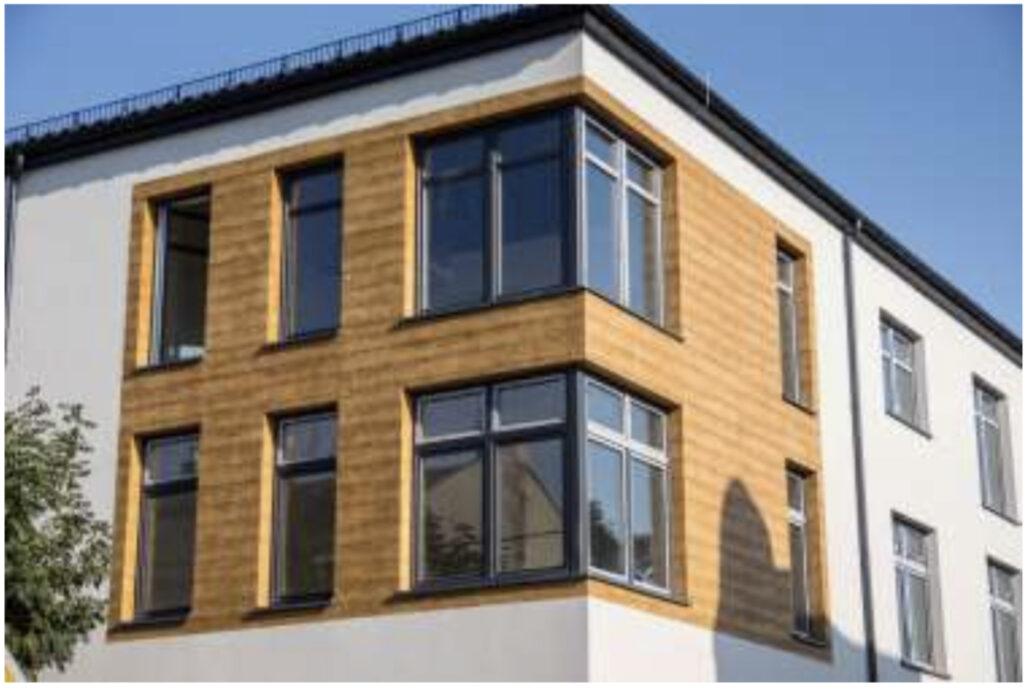
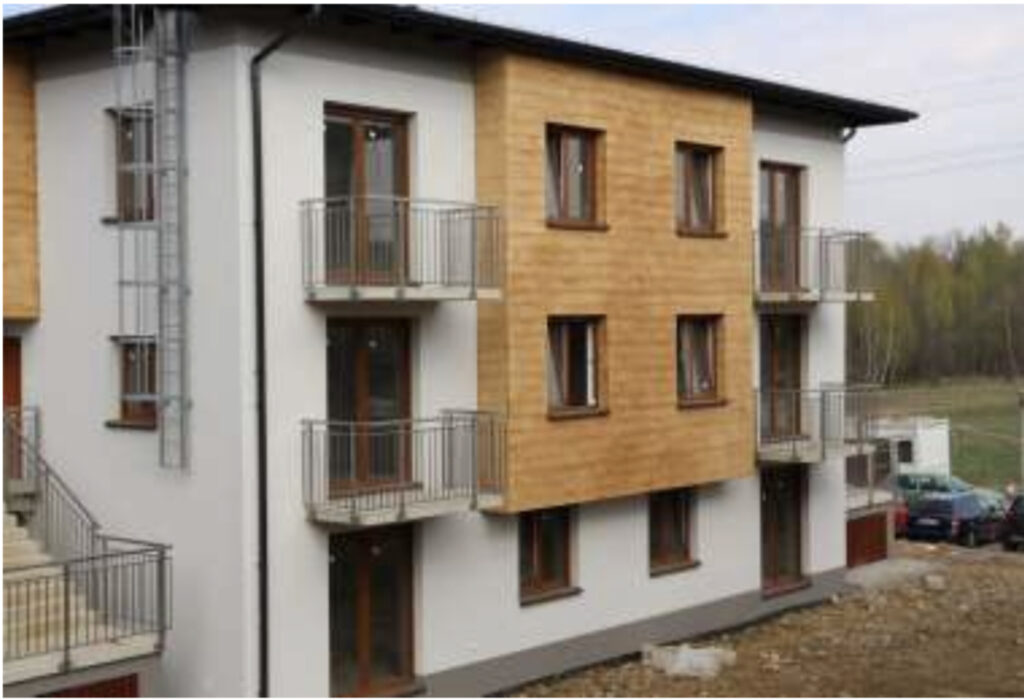
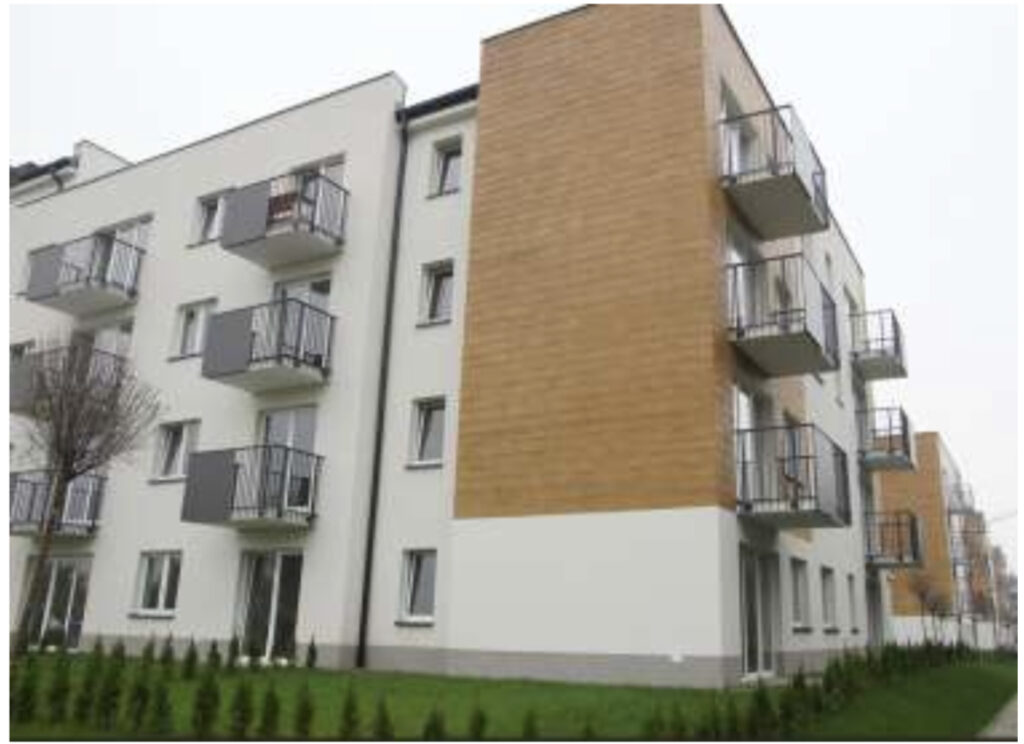
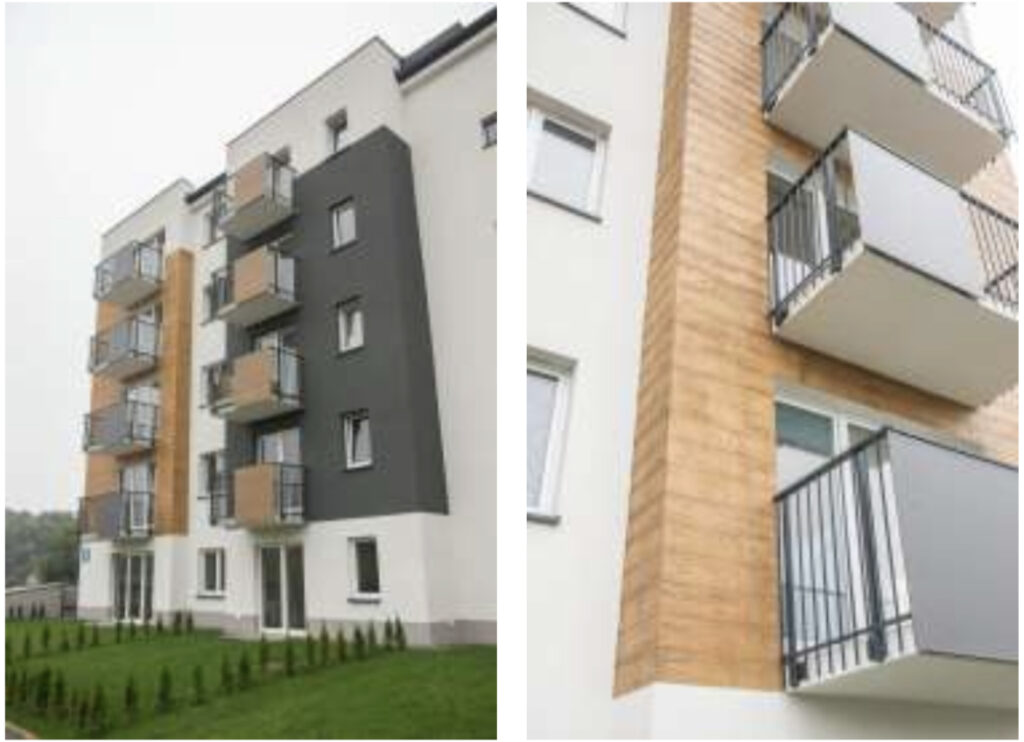
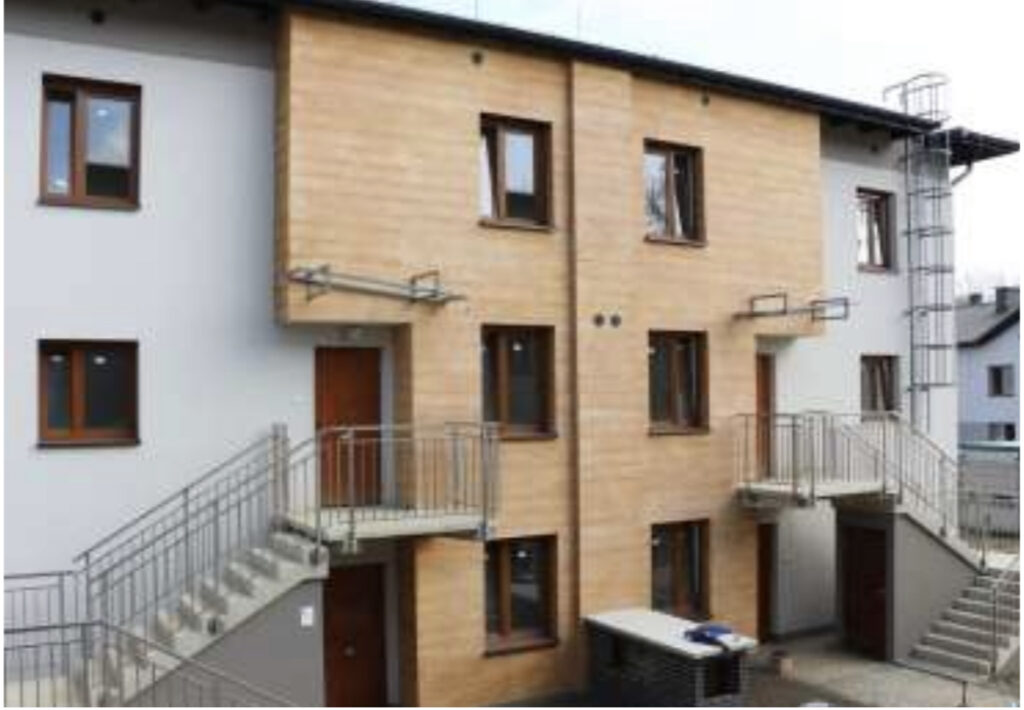
A few examples of implementations using façade technology Arte-WooD by ARSANIT.
MANUFACTURER'S NOTES
ARSANIT provides these information materials so that the contractor can carry out the work in the optimal way possible to guarantee a satisfactory effect.

ARSANIT also provides professional training for construction companies that want to properly perform this type of decorative facades, and it is the contractor's and the investor's responsibility to follow the detailed instructions of the Manufacturer indicated in this document, as well as generally accepted principles of construction art. Although this document precisely defines the method of carrying out work so that it can also be carried out by contractors who have not yet had experience in this field, ARSANIT, as the solution manufacturer, recommends commissioning and carrying out this type of work by certified contractors who have completed the appropriate training.

Arte-WooD facade technology is a complex, but also evolving solution (for example, the appearance of new tools on the market may make work easier or faster, and legal changes may cause some consequences in the future), therefore these guidelines may not exhaust the topic at the moment and it is always worth using the latest versions. ARSANIT, as the Manufacturer of the ARTE-WOOD solution, makes every effort to ensure that the data in this document is up to date and additionally provides the possibility of technical consultation with ARSANIT Technical and Commercial Advisors working in the field.
DO YOU HAVE QUESTIONS WRITE TO US
WE ARE HERE FOR YOU
CONTACT
Tel: +251 969 911 100
Tel: +251 911 209 922

E-maim: arsanit4u@gmail.com